How to Base Miniatures: Complete Beginner’s Guide
Basing is one of the most enjoyable parts of miniature painting, it’s your chance to set the scene and give your models character. But if you’ve never based a miniature before, the process can feel overwhelming. This guide covers the essential tools, step-by-step techniques, and practical tips to get you started, whether you’re using traditional methods or exploring digital design.
What Is Basing (and Why Does It Matter)?
Basing is the process of decorating the plastic or resin base your miniature stands on. A well-crafted base adds realism, tells a story, and helps your models stand out on the tabletop. Even a simple base can make a big difference in the overall look of your army or display piece.
Essential Basing Tools and Materials
For traditional basing, you’ll need:
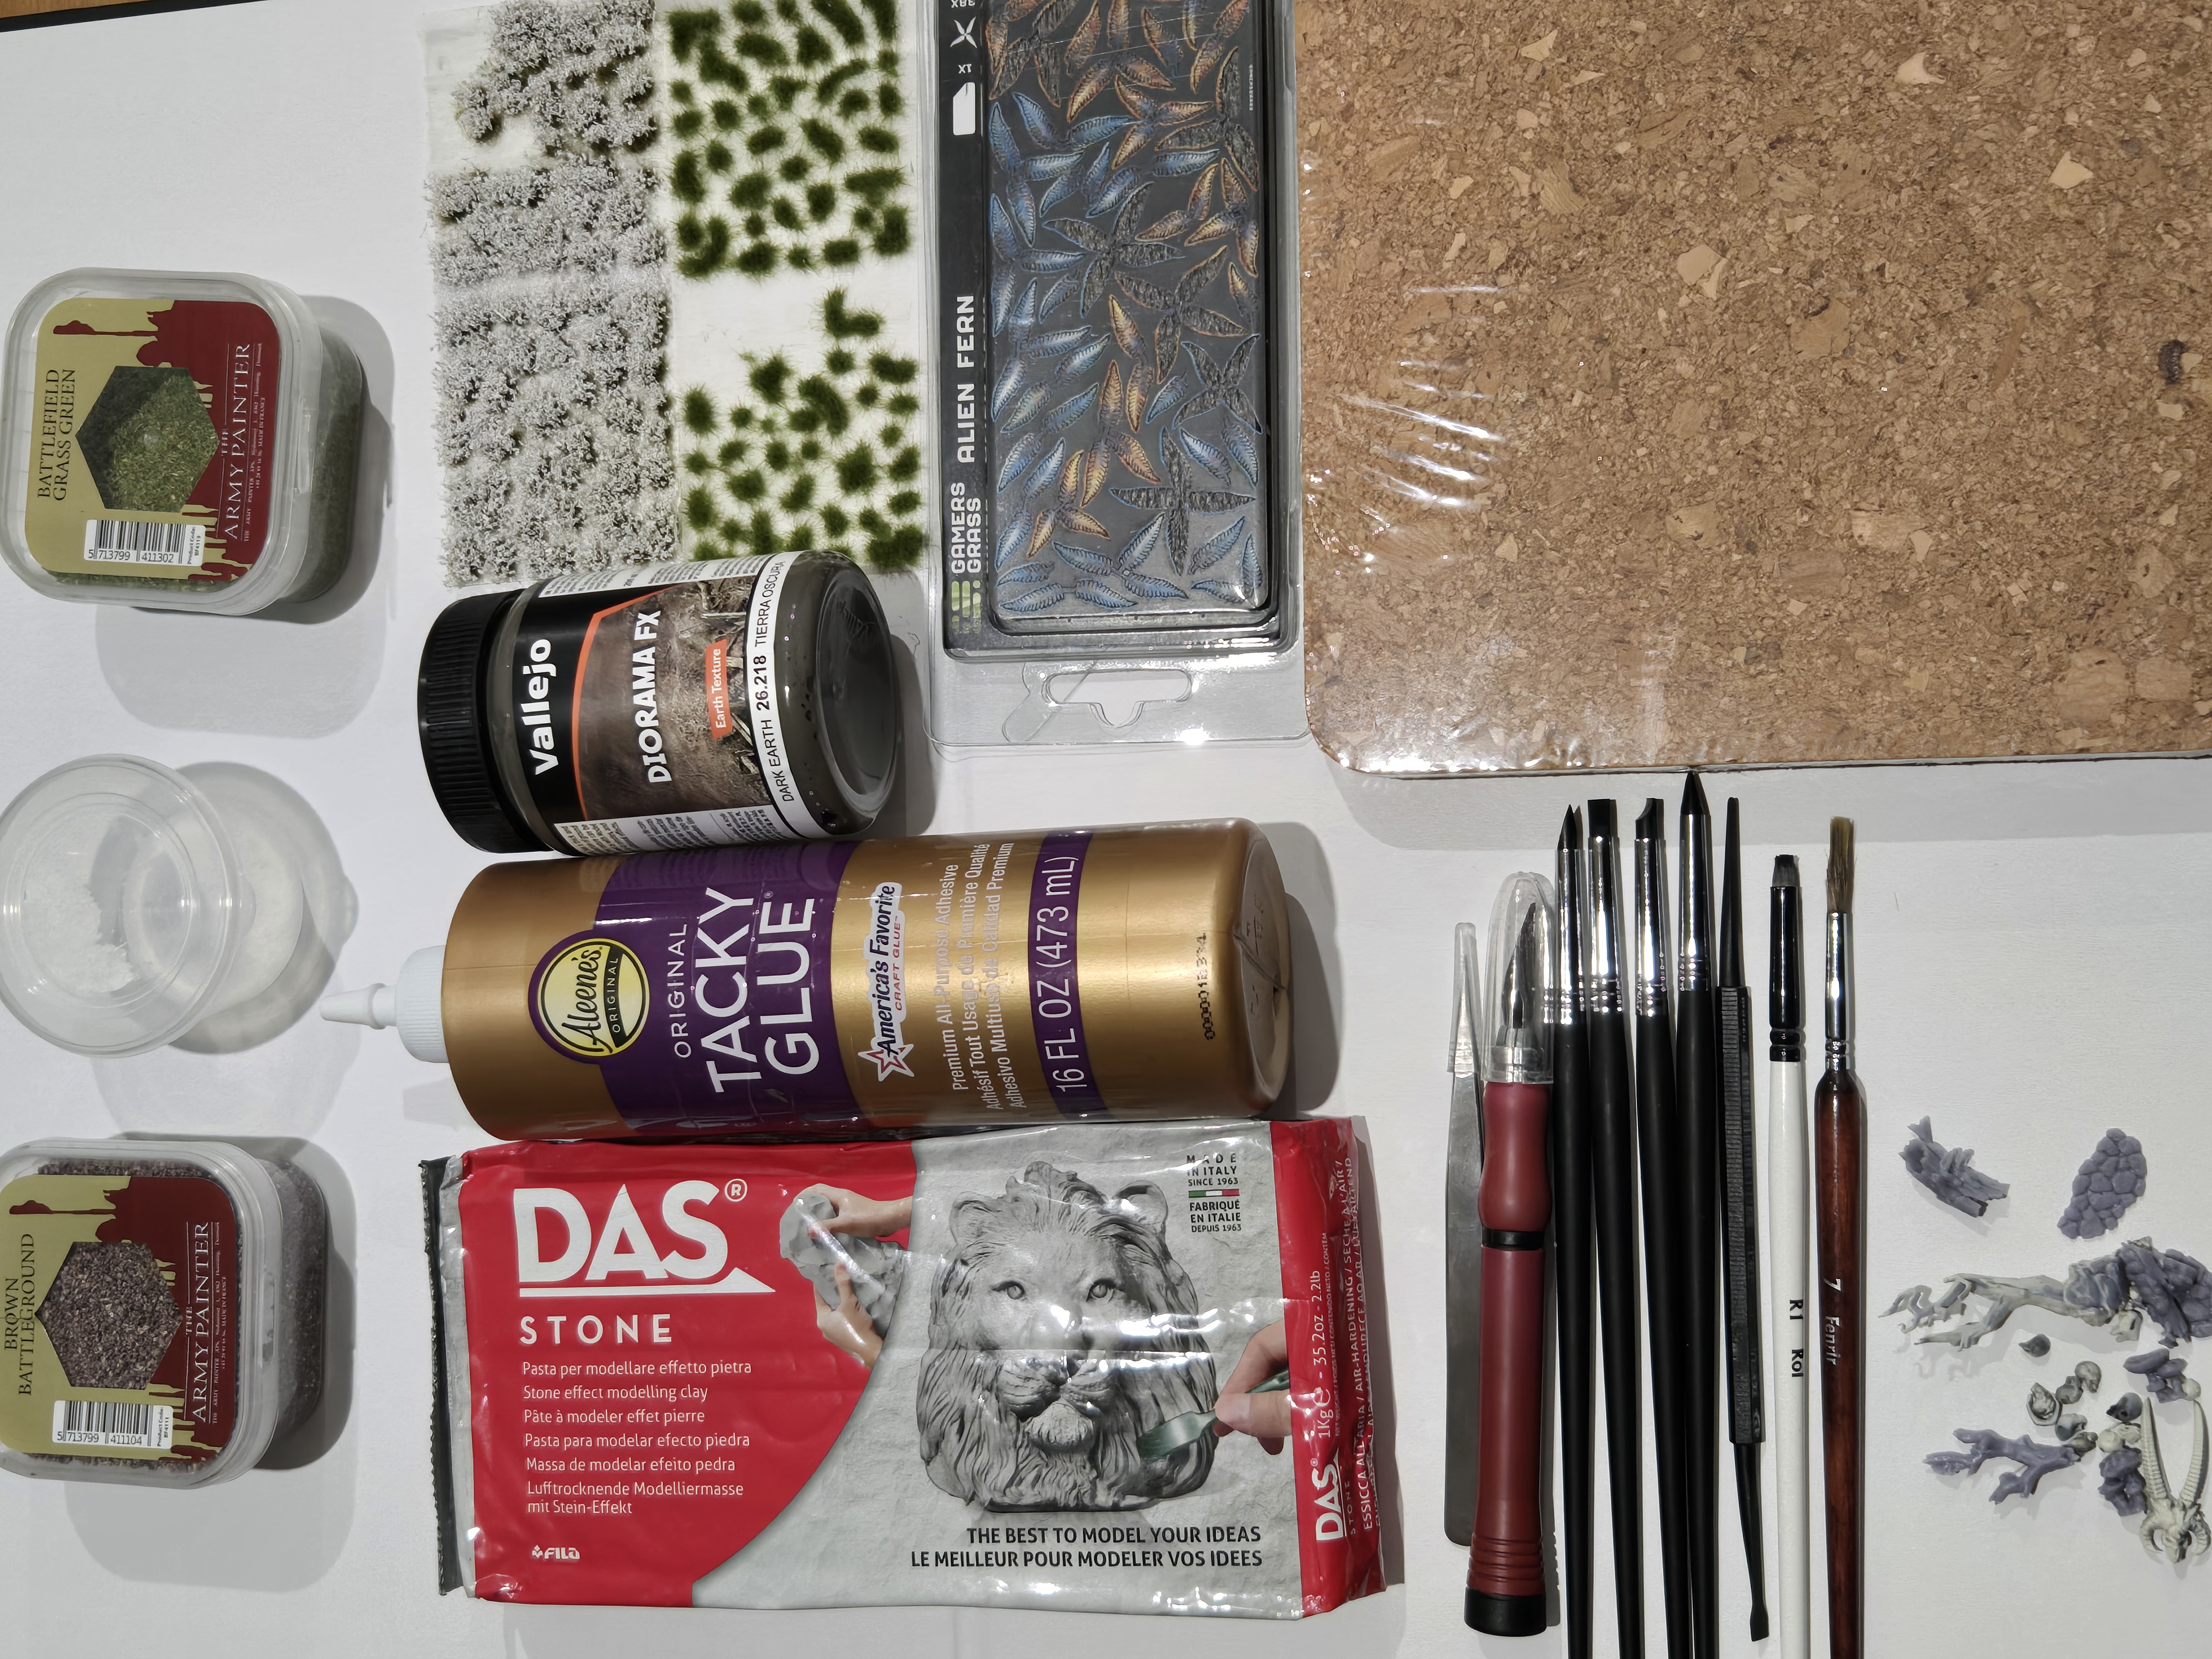
Glue: PVA (white glue) for sand/textures, superglue for resin bits/rocks.
Texture Materials: Sand, gravel, static grass, flock, cork, small rocks, tufts.
Paints: Acrylic paints for basecoats and drybrushing.
Tools: Hobby knife, tweezers, old brushes, toothpicks, silicone brushes, hobby mat.
Sealer: Matte varnish or spray to protect your work.
Optional:
Premade Basing Bits: Resin rocks, skulls, bricks, etc.
Texture Pastes: To easily create ground textures such as dirt, mud, etc.
Modeling Putty: For sculpting custom ground or filling gaps.
Digital Design Tools: Browser-based base designers for custom shapes and layouts.
Step-by-Step: How to Base a Miniature (Traditional Method)
1. Plan your Base:
Start out by looking at reference materials to decide on the theme for your base, good reference materials can include the codex for your army, social media, using an image search engine to look at either similar models and how they've been based or actual geography/environments.
2. Prepare the Base:
Clean the base and lightly sand the surface for better glue adhesion.
3. Apply Glue:
Spread a thin layer of PVA glue where you want texture. Use a toothpick or old brush for precision.
Alternatively, apply your texture paste using a texture applicator, old brush, or toothpick.
4. Add Texture:
Sprinkle sand, gravel, or flock onto the wet glue. Tap off excess and let dry fully.
5. Add Features:
Glue on rocks, tufts, or resin bits for extra detail. Use superglue for heavier items.
6. Prime and Paint:
Once dry, prime the base along with your miniature. Paint textures with base colors, then drybrush for highlights.
7. Add Grass or Tufts:
After painting, glue static grass or tufts in small patches for realism.
8. Seal:
Apply a matte varnish to protect your finished base.
Digital Basing: The Modern Alternative
If you want more control or struggle with traditional materials, digital base design tools let you:
Preview and tweak your base in 3D before printing or painting.
Create custom shapes and sizes to fit any miniature.
Experiment with different themes and elements risk-free.
Print exactly what you need—no wasted materials.
Browser-based tools like BaseCrafter are designed for hobbyists who want to skip the mess and get creative with minimal fuss.
Basing Tips and Tricks
Batch Your Bases: Work on several at once to save time and keep a consistent look.
Keep It Simple: Focus on one or two key elements for a clean, readable base.
Test Fit: Always check how your miniature fits before gluing down details.
Layer for Depth: Combine sand, rocks, and tufts in layers for a natural look.
Use Paint to Tie Elements Together: A final drybrush or wash can unify different materials.
Try Digital Mockups: Sketch or use a digital tool to plan your layout before committing.
Recycle Materials: Old sprue, cork, and packaging foam make great basing bits.
Seal for Durability: Always finish with a matte varnish to protect your work from chipping.
Stay Organized: Store basing bits in small containers for easy access and less mess.
Don’t Be Afraid to Experiment: Mistakes are part of the process—try new things and see what works for you.
Basing miniatures doesn’t have to be complicated or intimidating. With a few basic tools, some simple techniques, and a bit of creativity, you can elevate your models and bring your tabletop to life. Whether you stick with classic methods or explore digital design, the best base is the one that makes you excited to play and paint.
Stay tuned for future articles focusing on more of the specific elements of basing.